Trying out Tailscale
I’ve been following the gang (Brad, Christine, David et al.) on Twitter for a while now, and this weekend I finally found some time to see what they’ve been cooking.
Unfortunately, this post is going to be a little underwhelming…..
mainly because of how painless and easy it was to set everything up!
Really, the most difficult part was finding out how to restart the Apple App Store as it was stuck and refused to download the Tailscale client.
Before we start, I’d like to thank Kaden Barlow for helping to run Tailscale in a container. I feel like systemd is my nemesis, and I was not looking forward to messing with it again, but Kaden made sure things played out of the box.
What’s Tailscale?
Tailscale is a zero-config mesh VPN based on Wireguard that ‘just works’.
It runs on desktops, laptops (Windows, MacOS, Linux), mobile (IOS, Android), plus a bunch of other Unix-y or BSD-ish OSes and different platforms or architectures (pfSense, Synology, Ubiquity and more).
It promises to abstract away your network woes, punch holes through NATs, choose geographically sensible relay nodes, provide DNS, enforce Access Control Lists and monitor services automatically.
In the end, each device on your ‘local network’ just gets a static IP it can use to communicate….and that’s pretty much it!
Best of all is that it is not only free for single-account personal use (with a small cost for teams) but also open-source for open-source operating systems.
Here’s the setup I wanted to work with
     +----------------------+
     | Mobile Phone         |
     | Via Mobile Hotspot   |
     +----------+-----------+
                |
                |
                v
+------------------------------+
|Another mobile | 4G connection|
+------------------------------+
                |
                v
      +---------+-----------+
      |                     |
      |    M  A  G  I  C    |
      |                     |
      +---------+-----------+
                ^
                |
                |
 +--------------+---------------------+
 |  NAT                               |
 +------------------------------------+
 |  Laptop                            |
 +------------------------------------+
 |  K8S Cluster                       |
 |                   Tailscale Relay  |
 |                       |            |
 |                       v            |
 |                   Ubuntu Pod       |
 +------------------------------------+
Let’s do it!
I installed Tailscale on my phone and logged in with a Google account.
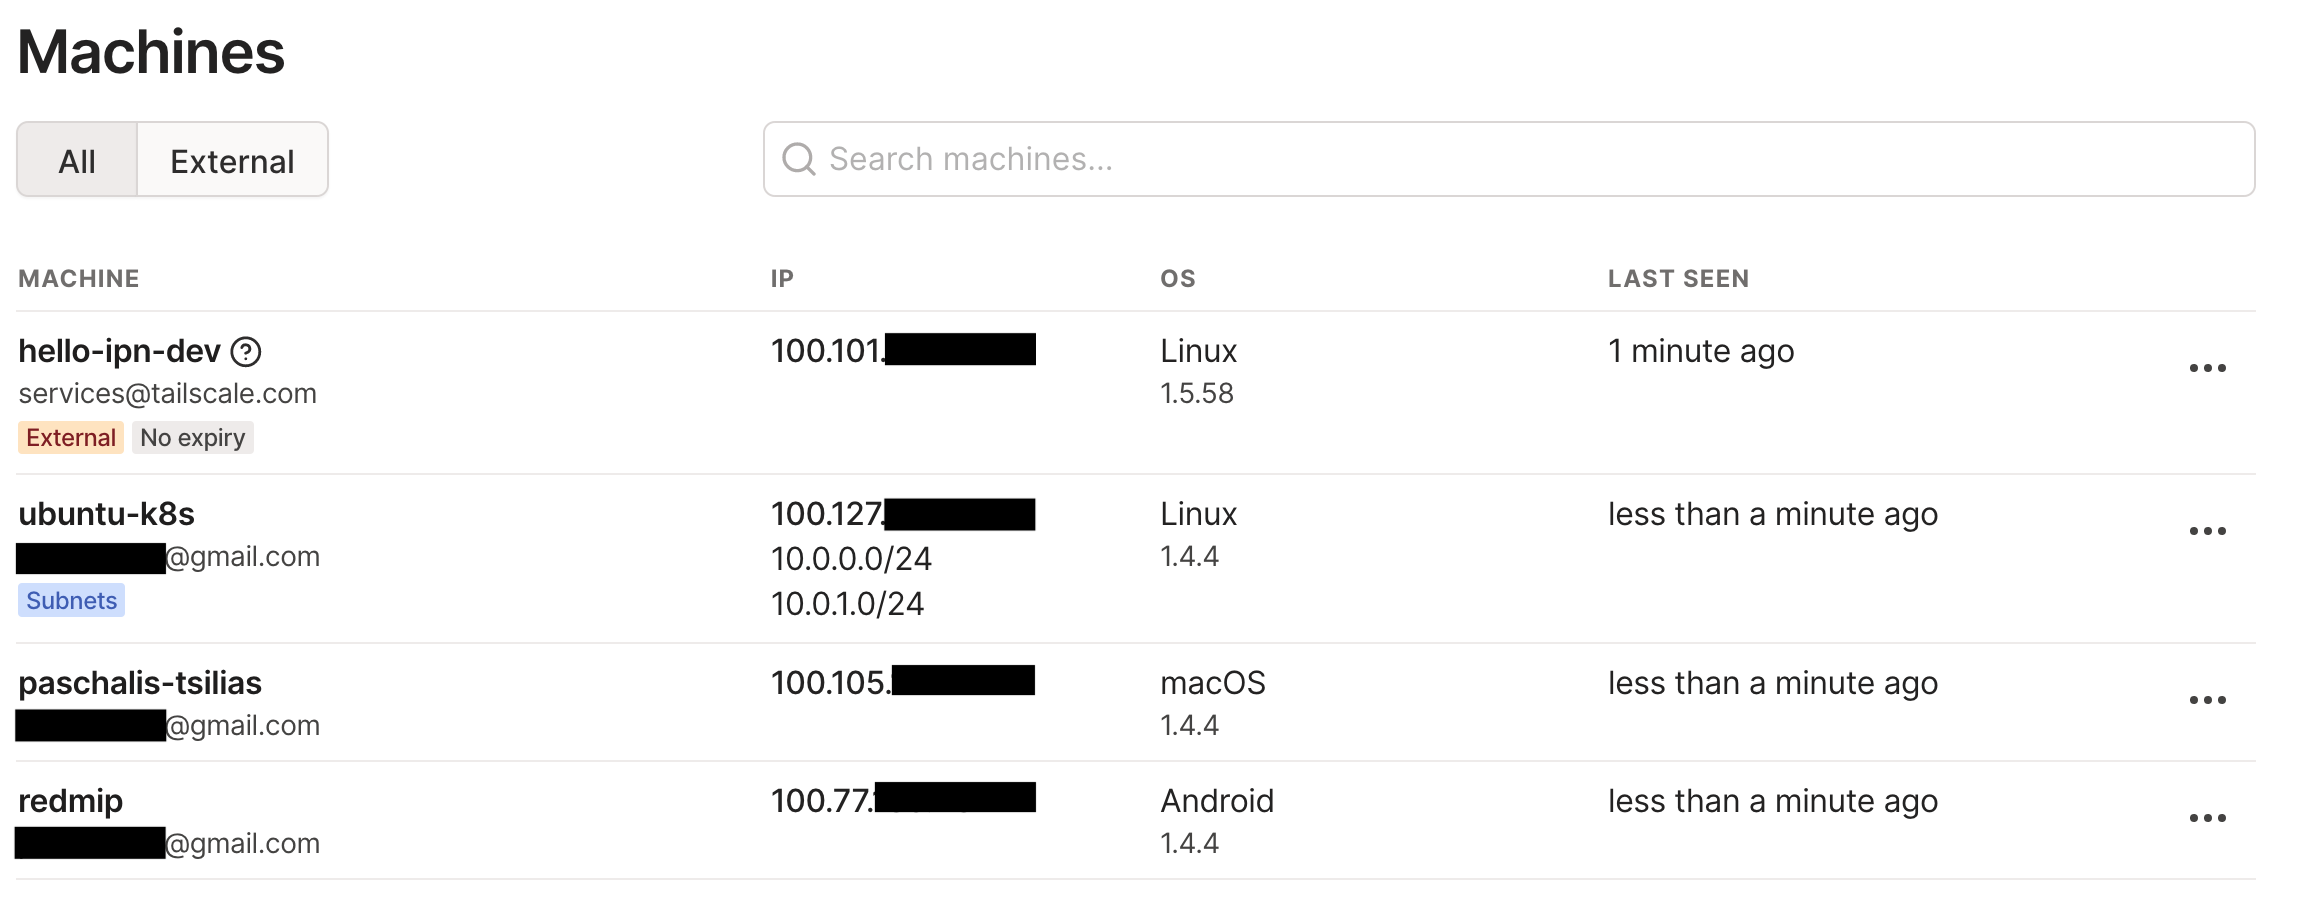
My device just appeared on the list of ‘machines’ in the admin panel with its assigned IP. That was easy!

Then, I went to my local K8S cluster.
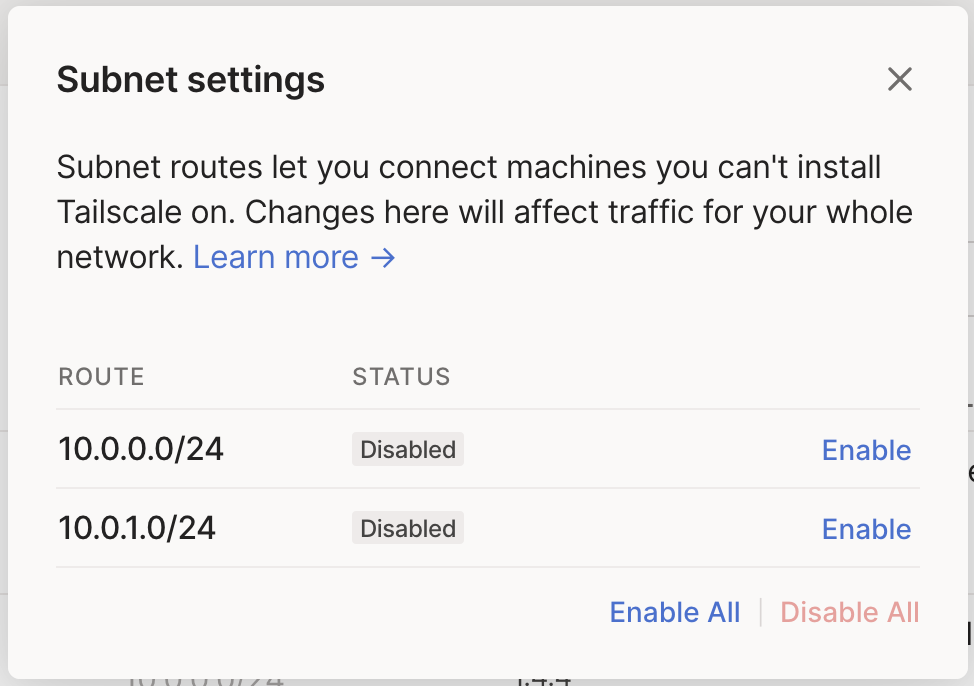
I wanted to set up a Tailscale pod which would act as a relay, and advertise the K8S subnet. These subnet routes will allow other pods to connect to our Tailscale network without having Tailscale installed themselves.
FROM ubuntu:latest

RUN apt-get update -y && \
    apt-get install -y curl gpg && \
    curl -fsSL https://pkgs.tailscale.com/stable/ubuntu/focal.gpg | apt-key add - && \
    curl -fsSL https://pkgs.tailscale.com/stable/ubuntu/focal.list | tee /etc/apt/sources.list.d/tailscale.list && \
    apt-get update -y && \
    apt-get install -y tailscale

RUN curl -LO https://storage.googleapis.com/kubernetes-release/release/`curl -s https://storage.googleapis.com/kubernetes-release/release/stable.txt`/bin/linux/amd64/kubectl && chmod +x kubectl && mv kubectl /usr/bin/kubectl

COPY ./src /app
RUN chmod +x /app/script.sh
CMD ["bash", "-c", "/app/script.sh"]
First, we can create a Dockerfile and build an image with docker build . -t tpaslocal/tailscale.
The entrypoint script shown below creates a Kubernetes configmap and boots up Tailscale with a couple of arguments.
We define the name for our ‘machine’ (ubuntu-k8s in our case), an authentication key so that it can join our own network, as well as the aforementioned subnet routes that will be advertised.
#!/bin/bash

set -m

kubectl create configmap tailscale-cm

tailscaled >/dev/null 2>&1 &
sleep 5 # boot up before registering with tailscale

tailscale up -hostname "ubuntu-k8s" -authkey "tskey-2c354014590dc8bb840xxxxx" -advertise-routes=10.0.0.0/24,10.0.1.0/24

data=$(cat /var/lib/tailscale/tailscaled.state | sed 's/\"/\\\"/g' | sed ':a;N;$!ba;s/\n/ /g') # Kaden Barlow, I owe you a beer mate
kubectl patch configmap tailscale-cm -p "{\"data\": {\"state\": \"$data\"}}"

fg
Then, it was time to deploy our image to the K8S cluster. We used the following deployment manifest, which exposes the /dev/net/tun ‘device’ that Tailscale needs.
apiVersion: apps/v1
kind: Deployment
metadata:
  name: tailscale-relay
  labels:
    app: tailscale-relay
spec:
  selector:
    matchLabels:
      app: tailscale-relay
  replicas: 1
  template:
    metadata:
      labels:
        app: tailscale-relay
    spec:
      volumes:
        - name: devnet
          hostPath:
            path: /dev/net/tun
      containers:
      - name: tailscale
        securityContext:
          capabilities:
            add: ["NET_ADMIN", "SYS_MODULE"]
        volumeMounts:
          - mountPath: /dev/net/tun
            name: devnet
        image: tpaslocal/tailscale
        imagePullPolicy: Never
When I switched back to the admin panel, I could see the new relay as well as the advertised subnets.
Finally, it’s time to start a different pod to check that our relay works as intended.
apiVersion: v1
kind: Pod
metadata:
  name: ubuntu
  namespace: default
  labels:
    app: tailscale-relay
spec:
  containers:
  - image: ubuntu:groovy
    command:
      - /bin/sh
      - "-c"
      - "sleep 60m"
    imagePullPolicy: IfNotPresent
    name: ubuntu
  restartPolicy: Always
Using that pod
➜  kubectl apply -f ubuntu.yml
pod/ubuntu created
➜  kubectl exec -it ubuntu -- bash
root@ubuntu:/# apt update
...
root@ubuntu:/# apt install iputils-ping
root@ubuntu:/# ping 100.77.xx.yy            # assigned IP to mobile
PING 100.77.xx.yy (100.77.xx.yy) 56(84) bytes of data.
64 bytes from 100.77.xx.yy: icmp_seq=1 ttl=37 time=348 ms
64 bytes from 100.77.xx.yy: icmp_seq=2 ttl=37 time=121 ms
64 bytes from 100.77.xx.yy: icmp_seq=3 ttl=37 time=110 ms
root@ubuntu:/# ping 100.77.xx.yy
PING 100.77.xx.yy (100.77.xx.yy) 56(84) bytes of data.
64 bytes from 100.77.xx.yy: icmp_seq=1 ttl=37 time=67.3 ms
64 bytes from 100.77.xx.yy: icmp_seq=2 ttl=37 time=65.3 ms
64 bytes from 100.77.xx.yy: icmp_seq=3 ttl=37 time=53.2 ms
I don’t know why the ping was lower the second time around, maybe a different relay node was chosen? But that’s part of the magic, it all happens under the hood.
Of course, I was able to ping my relay from the mobile device at the same time.

First use-case
First thing I thought to set up is go/ shortlinks in a Raspberry Pi that was dusting away using kellegous/go.
The idea is that you can can set up any go/<word> link to point to another URL, or a Markdown document. It (used to be? is?) a thing inside Google, that has been adopted by other companies as well. In my previous $DAYJOB it was a great way to onboard new people and keep relevant links handy at all times.
That way, from any machine connected to my Tailscale network, could just http://go/jira and be redirected to my employer’s Jira, http://go/status to see the status of our services or http://go/vim to revisit my Vim notes.
Parting words
I’m pretty happy with what Tailscale has achieved; it just embodies the do one thing, and do it well mentality. Looking forward to what’s in stock for them in the near future!